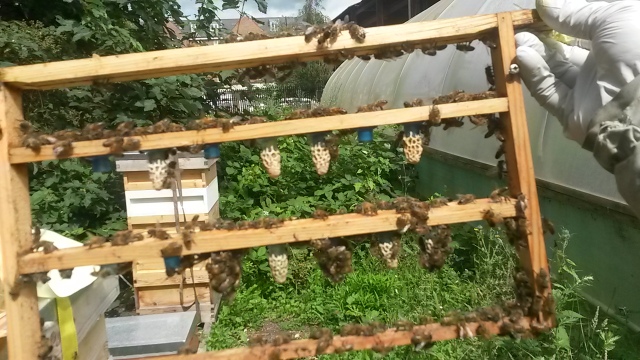
So a little late in the season I started my 2nd serious attempt at queen rearing following last year’s first attempt and something I am keen to get to grips with over the coming years. There are several methods of queen rearing but the method that interests me is known as grafting and it’s where you graft the tiny no older than 24 hours larvae into a specially prepared frame fitted with small plastic cups mimicking natural queen cups. You then place this frame into a queenless hive with lots of young nurse bees and no other young larvae to raise themselves any queen cells other than your frame of grafts
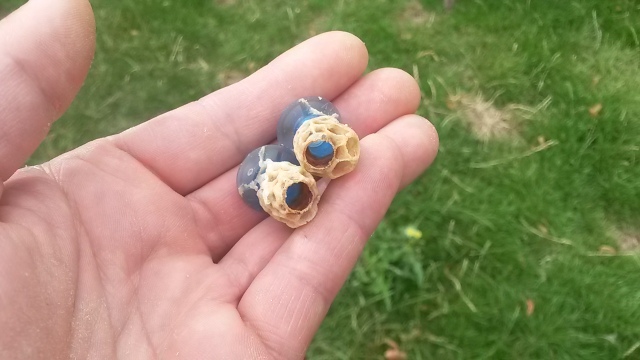
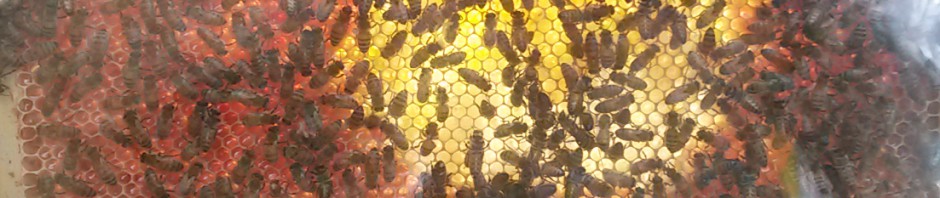
Queen cells empty after the queens have emerged
You cannot do any of this queen rearing without following a strict timetable as certain processes have to be followed and performed on specific days even am and pm can come into play. Obviously you are following a queen’s development from egg to emerging queen that is nearly always 16 days. Also mixed in with this timetable you have to start and prepare mating nucs and have them ready for the ideal time 24-48 hours before the queens emerge so you can safely handle the cells and place them into the mating nucs to continue their development to mated queens. I won’t go into the processes of setting up the mating nucs this time but basically they are a very small nuc’s containing a mug and half of bees and just enough to look after themselves and the virgin as they develop into mated queen.
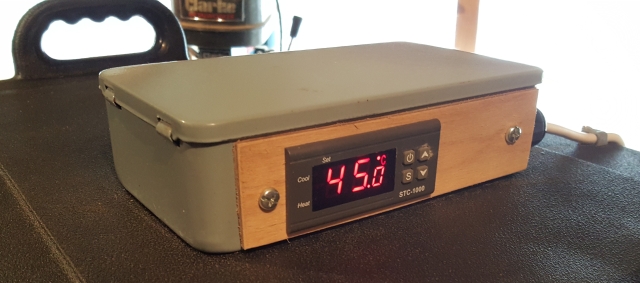
To help me work out the timings and work to a calendar I found this website and their queen rearing chart a great help you simply enter the date you wish to start and it does the rest although I have made one alteration to it and transfer the cells a day later to the mating nucs as I think they are a bit early with their timings.
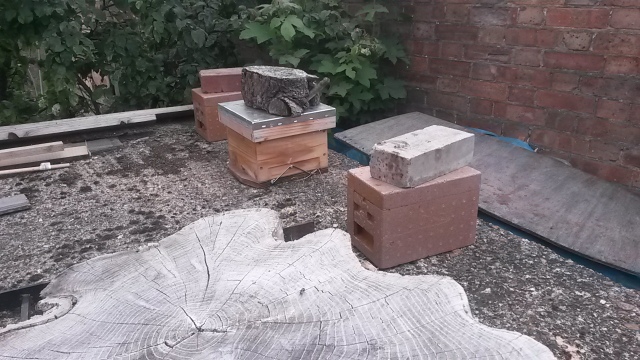
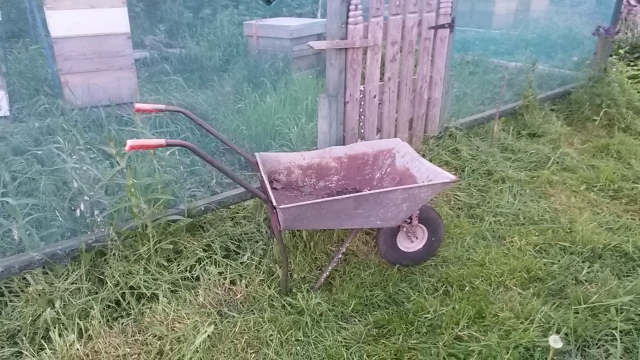
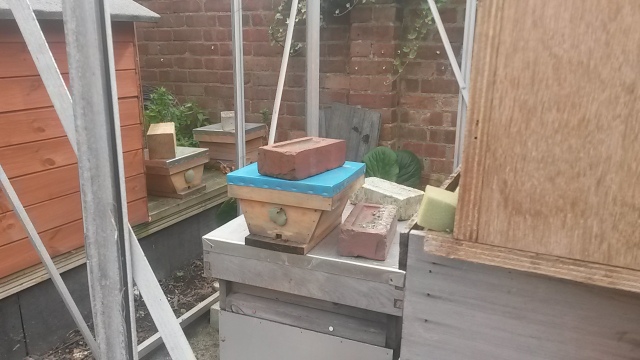
Three of my mating nucs and I have three different designs two bought apideas and two different homemade designs and in total I have nine and wonder in time if they will increase.
The biggest worry I had last year on starting this was how do you know what a larvae 24 hours and ideally less looks like. Select larvae to old say 30-48 hours and not only will your timetable be out you risk queens emerging early and killing the other queens or possible cast swarms but also and importantly your queens will have a reduced time to be fed royal jelly and therefore not the best possible queen the bees can produce.
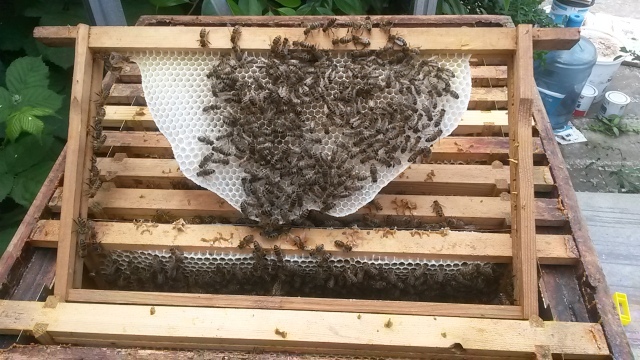
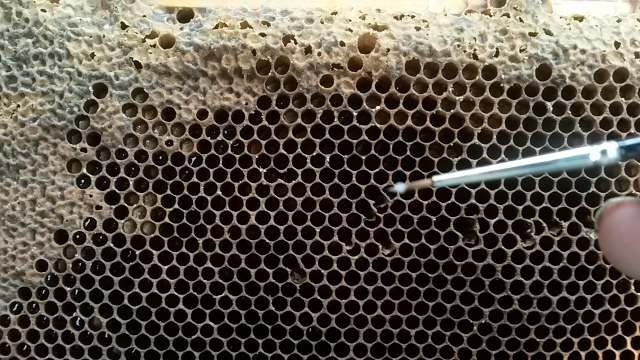
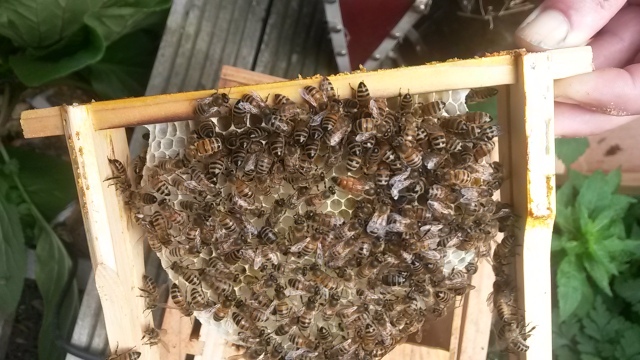
The way I overcame this problem of teaching myself the age and size of larvae 24 hours and younger last year was to place a nice drawn ideally new comb centrally into the hive I wanted to graft from four days before I intended to graft. The idea is the bees first clean and prepare the comb and the queen is attracted and starts to lay in it so on the fourth day you remove the frame and you are presented with a frame covered in eggs and a small patch of tiny larvae and a few slightly larger and you know none of them can be more than 24 hours old and assume the very small ones are only a few hours old. Basically I have learnt that if you can easily see the larvae in the bottom of the cell then it’s probably too old.
So after selecting a suitable frame with the right sized larvae from the hive I wish to breed from and my best performing and gentlest hive I sat myself into my van with brood frame resting on the steering wheel that just so happens to be a good angle and height for the job in hand. With torch in one hand and the tiny artist brush in the other it’s possible to lower the brush into the bottom of the cell carefully slide the tip under the larvae and lift it out and transfer it to the bottom of the plastic cup on the cell raising frame. I have found it helpful to slightly push away the side of the cell wall allowing for a better angle so as to pick up the tiny larvae.
Sorry a very bad photo the brush is way to close the camera giving an oversized impression of brush and larvae.
Once you get the hang of transferring the larvae it only takes a few mins to do the 14 grafts and then placing the grafted frame into the cell raiser colony and replacing the donor frame back into a hive.
After four days you can check the grafts and if they are accepted the bees would have started queen cells and thankfully out of the fourteen I had nine accepted. I was very happy with the nine as I was only wanted about five to six queens so had a few spares. In time with more practice I should hope for a better acceptance rate as my handling of the tiny larvae will improve.
Nine queen cells started but to delicate and risky to brush bees off them
So the frame is placed back into the hive to continue their development and when they are 24-48 hours (I estimated I did this at about 30 hours) to emerging you remove the frame and place one queen cell into the prepared mating nucs to hatch and then continue into fully mated queens. It’s at this time that your timings have to be accurate, move the cells too early and you risk damaging the underdeveloped queen and too late and a virgin could emerge and kill the other queens before you transfer to the nucs and especially as my plastic cups don’t have allocation to fit plastic cages to hold and keep separate any early queens attacking the other queens. I am thinking about changing my cups next year so I can fit the plastic cages for added security.
The nine queen cells capped and approx 30 hours before emerging
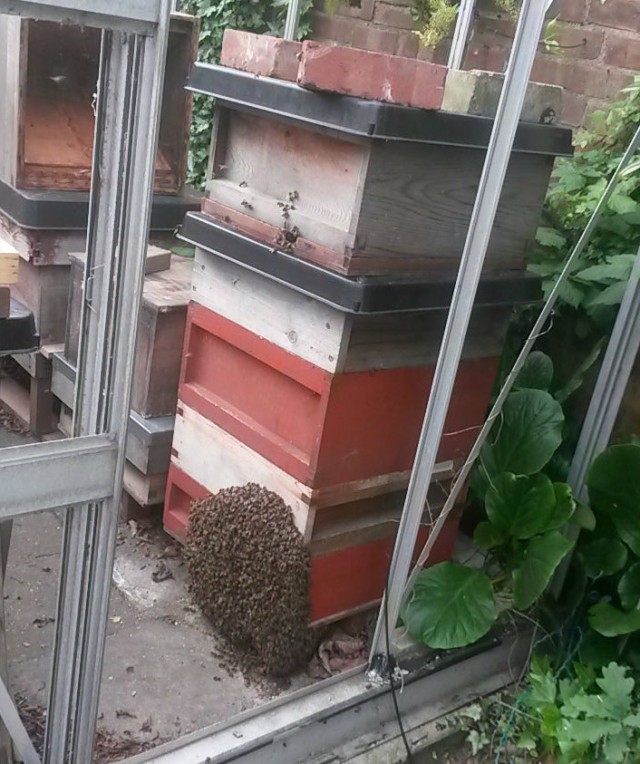
The mating nucs are small and vulnerable and ideally want to be away from large colonies so this year I placed them in the garden at Brentford as I had moved a large colony I had in the garden a few weeks earlier. They were still at risk from wasps or larger colonies close by but I could keep an eye on them and I also wanted to watch them closely.
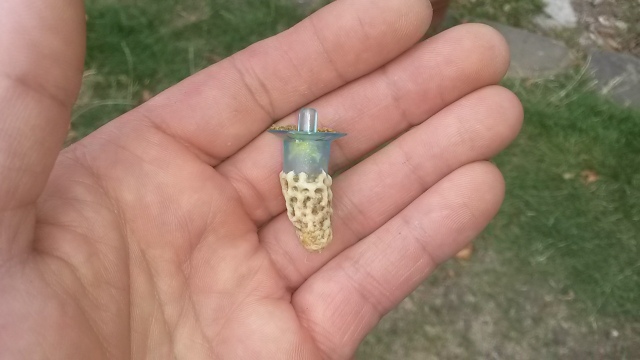
Queen cell removed from the frame ready to be placed into a mating nuc
From the nine queen cells I left one in the cell builder hive so as to requeen that hive and then placed seven into the six mating nucs. The reason for seven was I managed to drop one of the queen cells into the bottom of a mating nuc so gave this nuc a 2nd. The last queen cell I performed an autopsy so as to look at the queen’s development at approx fourteen days.
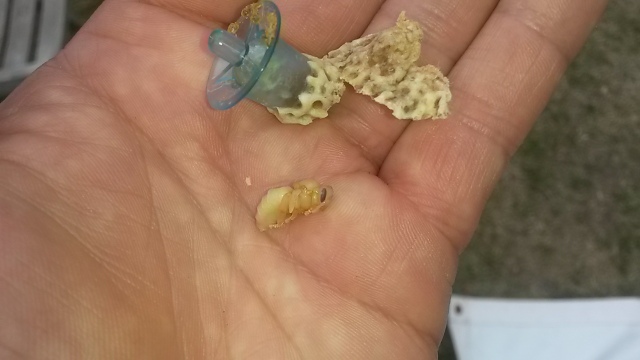
A bit sad but if my timings are right this should be a queen at approx fourteen days
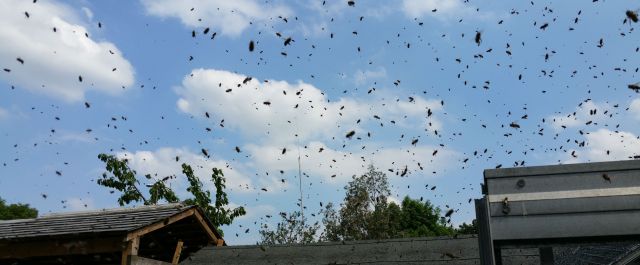
So a few days after the estimated emerging time and watching the nucs I started to notice something different at the entrances. I have been use to seeing three or four bees hanging around the entrance and the bees foraging but on a couple of hives I noticed about 15-20 bees outside the entrance looking rather excited and challenging the returning foraging bees. I kept watching to see what they were up to when I noticed the queen walk out and around the front of the hive and a real thrill to see. Sometimes the queen would walk straight back into the hive and then a few minutes come back out and then take to the air for a short orientation flight and really exciting to see. Over the next couple of days I was able to watch five out of the six queens take increasingly longer orientation flights up to about two to three minuet’s and just lovely to watch.
Not a great photo but a queen resting on the bit of foam blocking a ventilation mesh after returning from a short flight
A few days later and the nuc entrances changed once more with a good amount of pollen entering the hives so it looked as though mating had taken place and another week should hopefully reveal all.
So about a week later I decided to check for eggs and glad to say all six nucs had laying queens and one with larvae. Just another six days to see the brood capped and confirm worker brood and the queens can then be moved into larger nucs to overwinter or colonies I want to requeen.
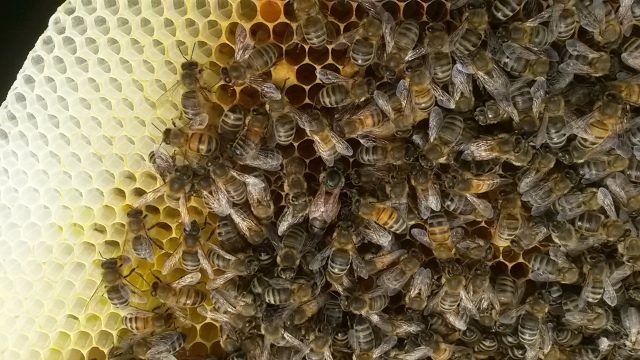
One of the laying queens and a beautiful looking queen she is to

And a frame of eggs from one of the apideas
Overall its felt like a great success and a real thrill especially watching the queens on short flights and looking forward to next year already with a much earlier start and perhaps a couple of attempts but don’t know what I will do with all the queens. I have a few adjustments and improvements to do that will hopefully make the process a bit easier and plans to set up the mating nucs so they are reasonably close to each other and easier for me to watch them with the hope to get some good photos and even try for a short video or two if lucky enough to be present when the queens take to the air.
If the queens I have raised this year go on to be half as good as their mother then they will be lovely to work with and only time will tell on that as I know I have little or no control on the drones they have mated with but time will reveal all.